If the ultrasound scan window in the SonoSimulator® shows a blue screen instead of an image, it usually means the ultrasound data didn’t download correctly.
You can usually fix this by removing and re-downloading the affected module.
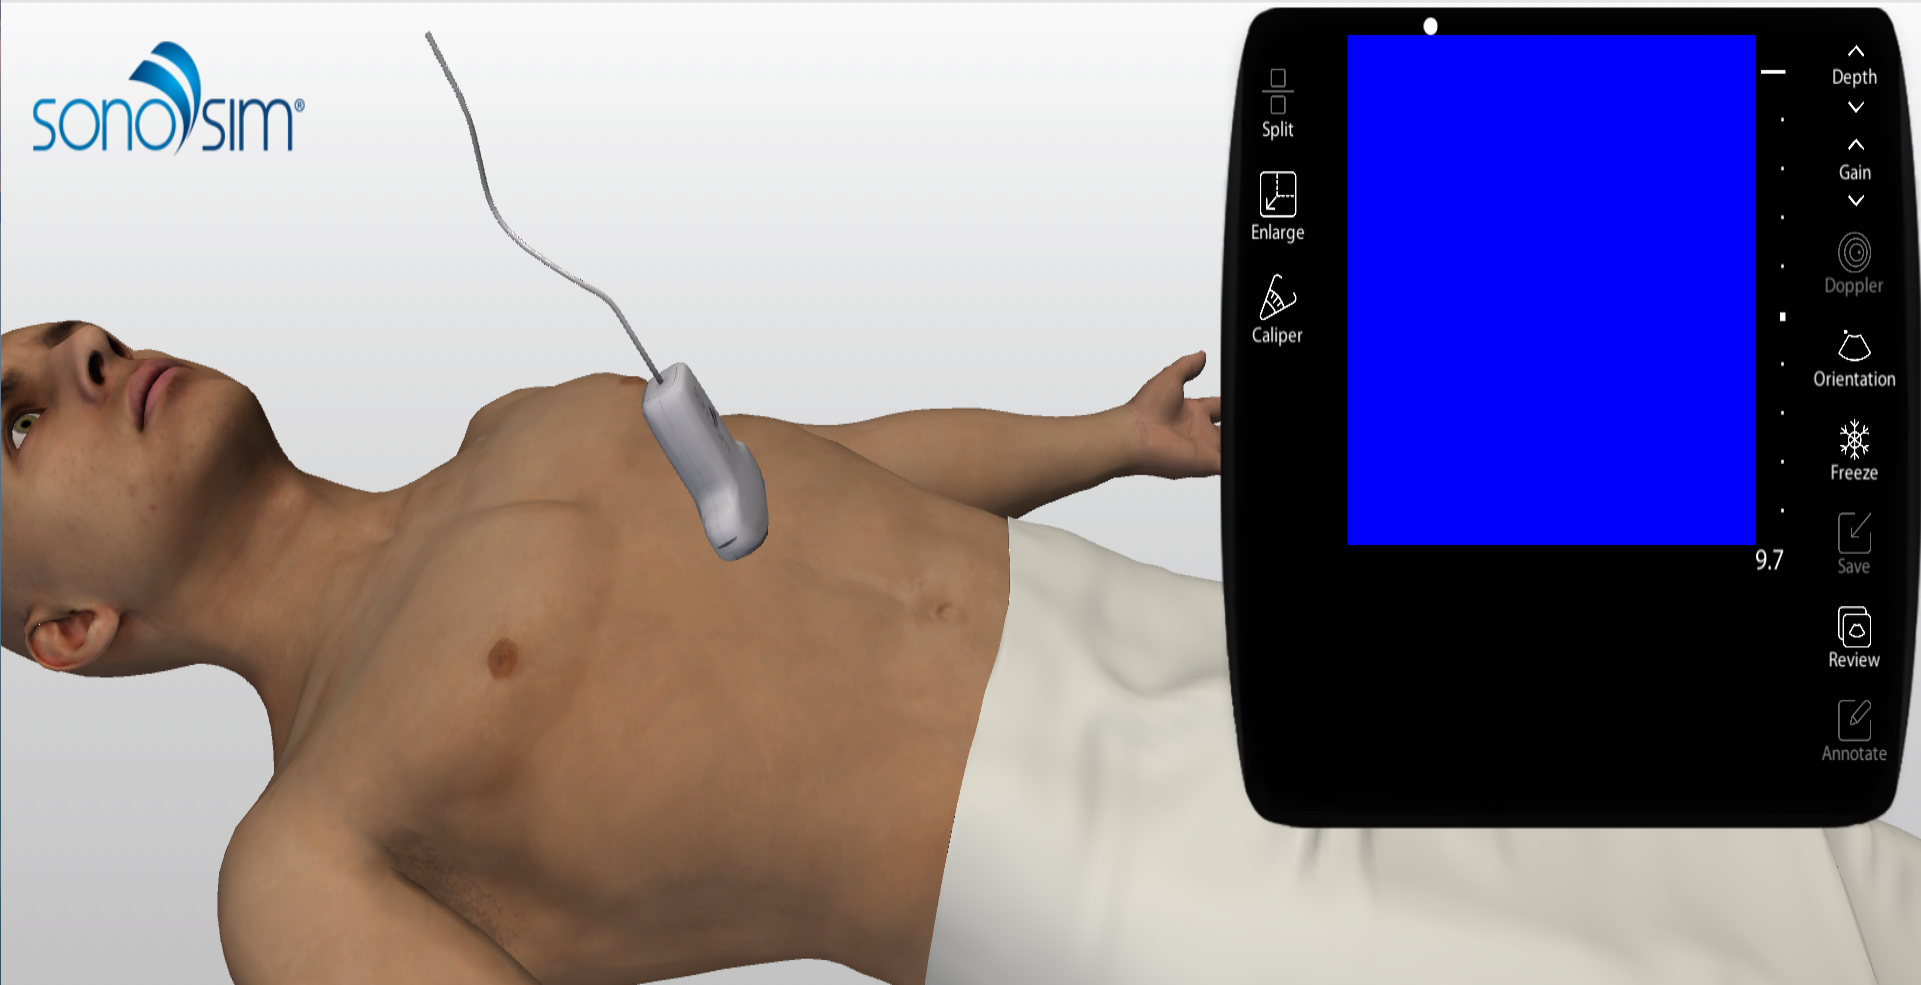
How to Fix the Blue Screen Issue
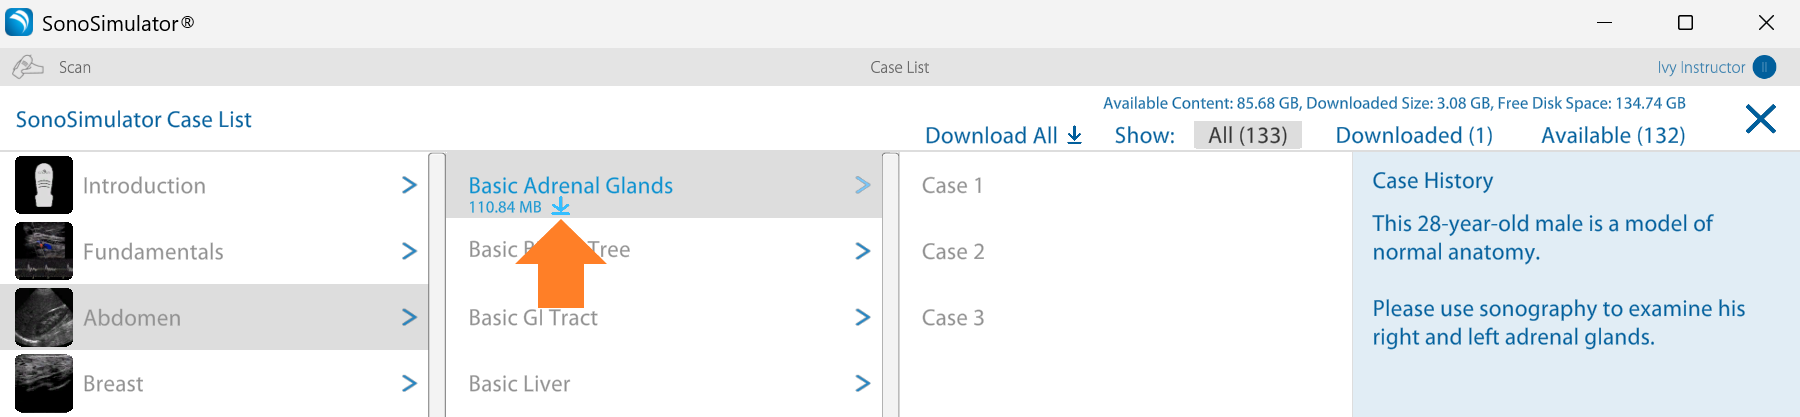
1. Go Back to the Case List
Click the Case List button in the toolbar to return to the list of available modules.
2. Remove the Problematic Module
Find the module showing the blue screen and click the Remove icon beneath its name.
.png?cb=7b99be3ddd79516fba64dcd6a7d64e23)
3. Re-Download the Module
After removing the module, click the Download icon to re-download fresh ultrasound data.
4. Open the Case Again
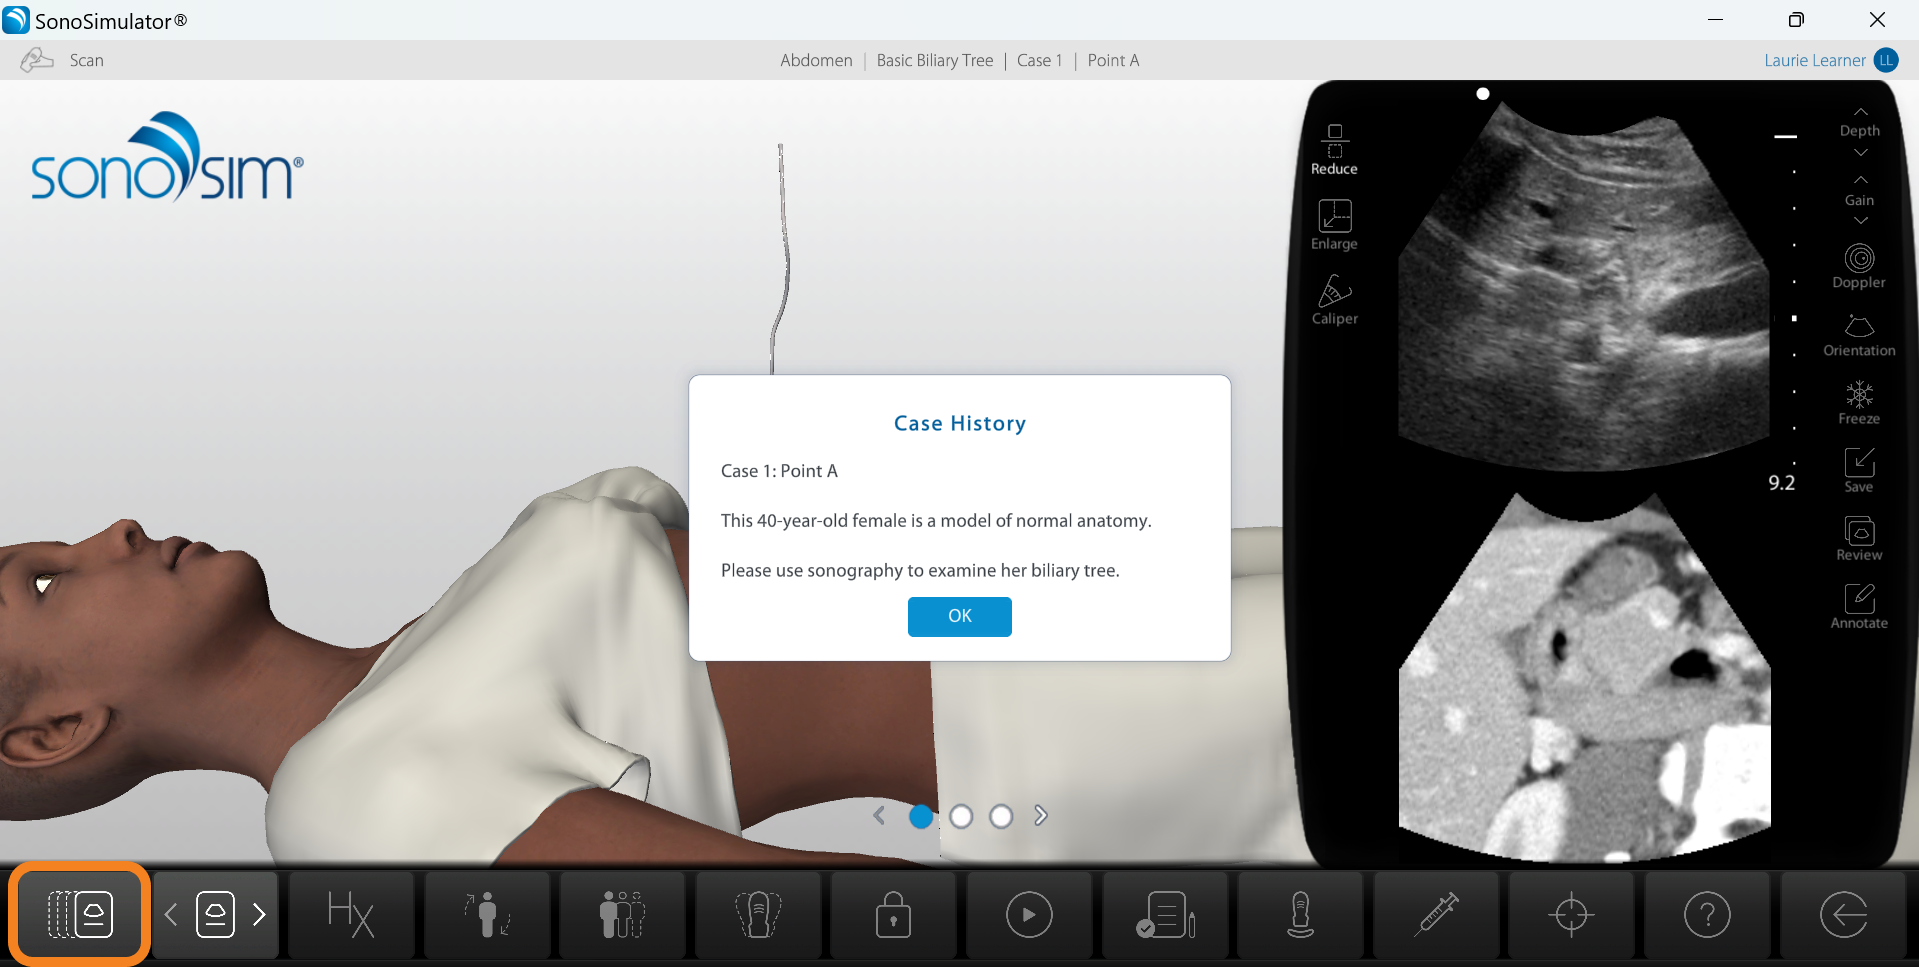
Once the module has been re-downloaded, reopen the case. The ultrasound scan should now appear correctly in the upper-right window.
5. Still Seeing a Blue Screen?
If the ultrasound scan window still shows a blue screen after removing and re-downloading the affected module, reach out to SonoSim support using the contact information below. Our team can help troubleshoot further and investigate the issue.
Still Have Questions?
Read Related Articles
- What should I do when my course says “Unable to Connect”?
- I'm seeing a “Probe Not Connected” error, but my probe is plugged in. What should I do?
- I'm seeing the error message “SonoSim Services Cannot be Reached.” What should I do?
- I'm seeing the error message “Data initialization could not be completed.” What should I do?
- I'm having issues installing the SonoSim software.
- Why am I seeing a blue screen instead of an ultrasound scan in the SonoSimulator?
- I'm seeing the error message “Feature Temporarily Unavailable.” What should I do?
- I'm seeing a “Probe Could Not Be Initialized” error. What should I do?
Contact Support
-
Contact SonoSim Support
-
Give us a call: 855-873-7666
-
Schedule a Support Session