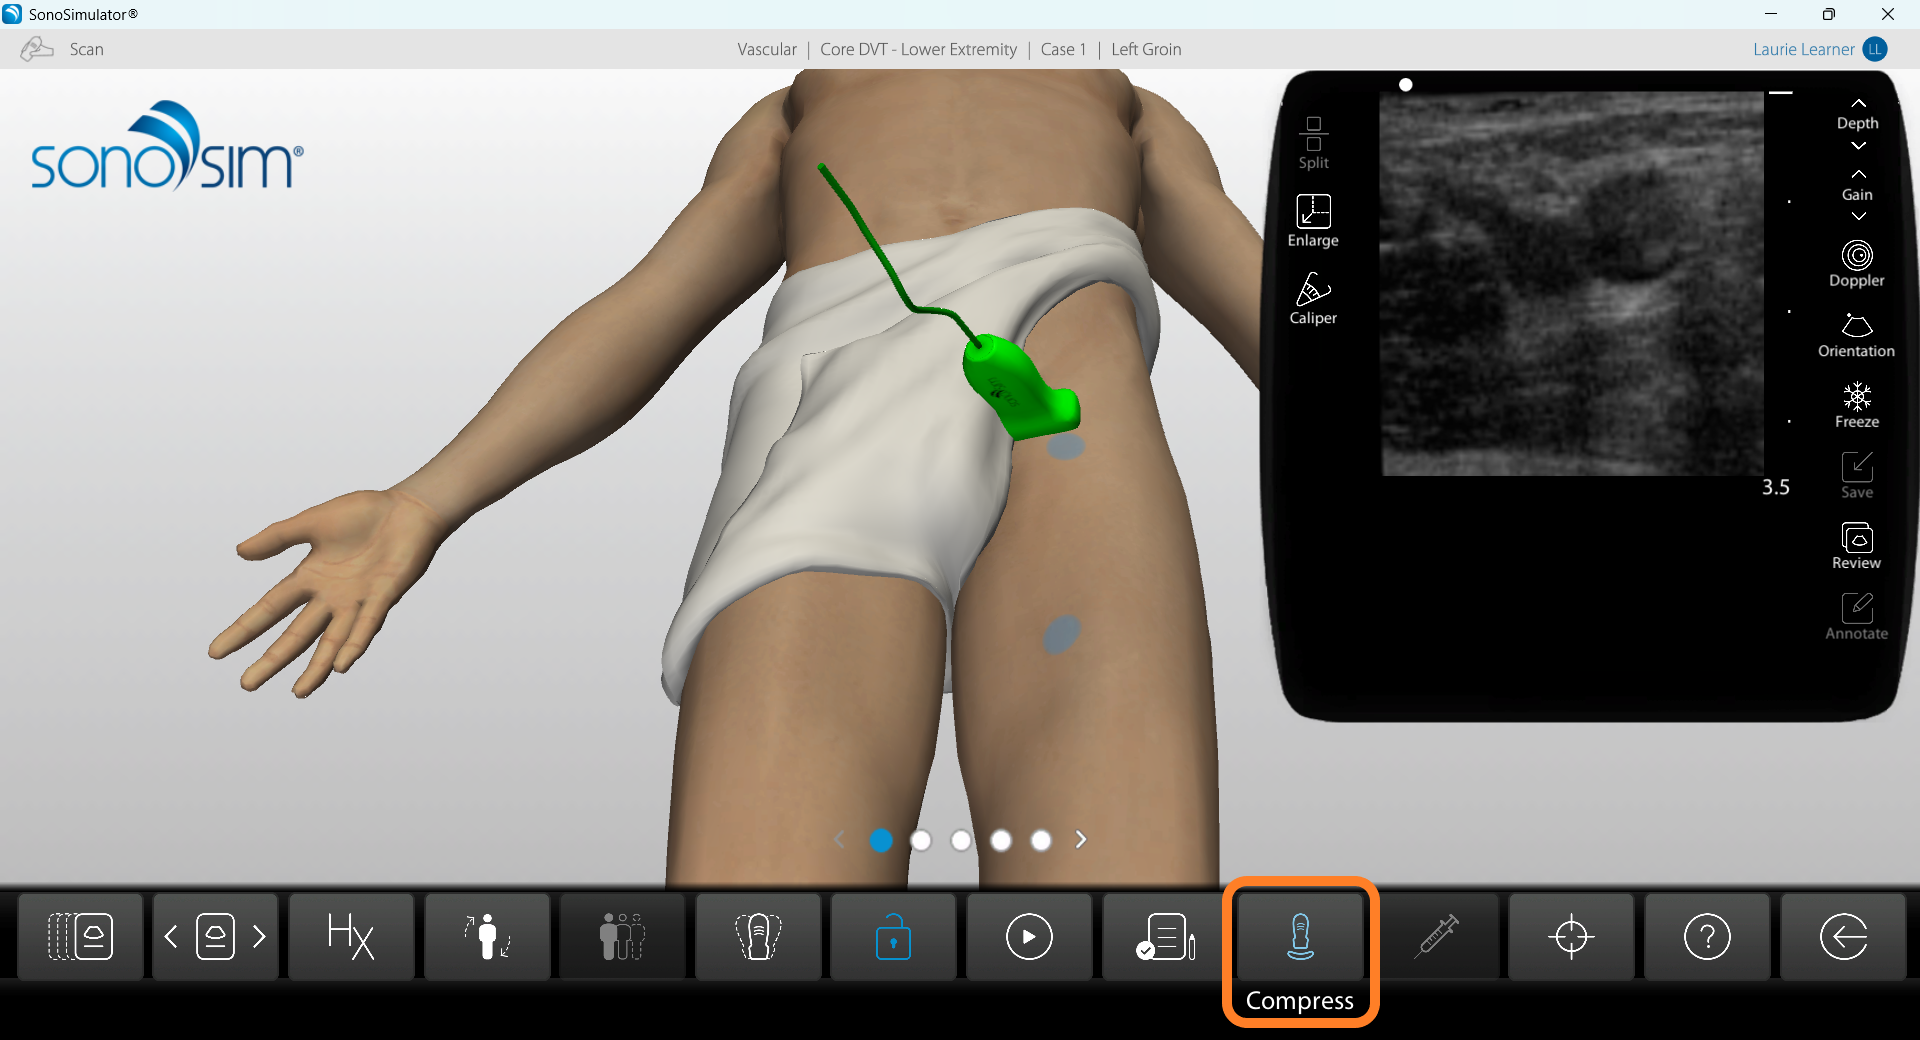
How do I use compression?
To enable compression, click and hold the ‘Compress’ button in the bottom toolbar. The ‘Compress’ button has an icon of a probe pressing down on an object.
How do I save an image if I am holding the ‘Compress’ button?
Before applying compression, first acquire the optimal view and then lock the virtual probe in place using the ‘Lock Probe’ button. The ‘Lock Probe’ button has a lock icon and turns blue when activated.
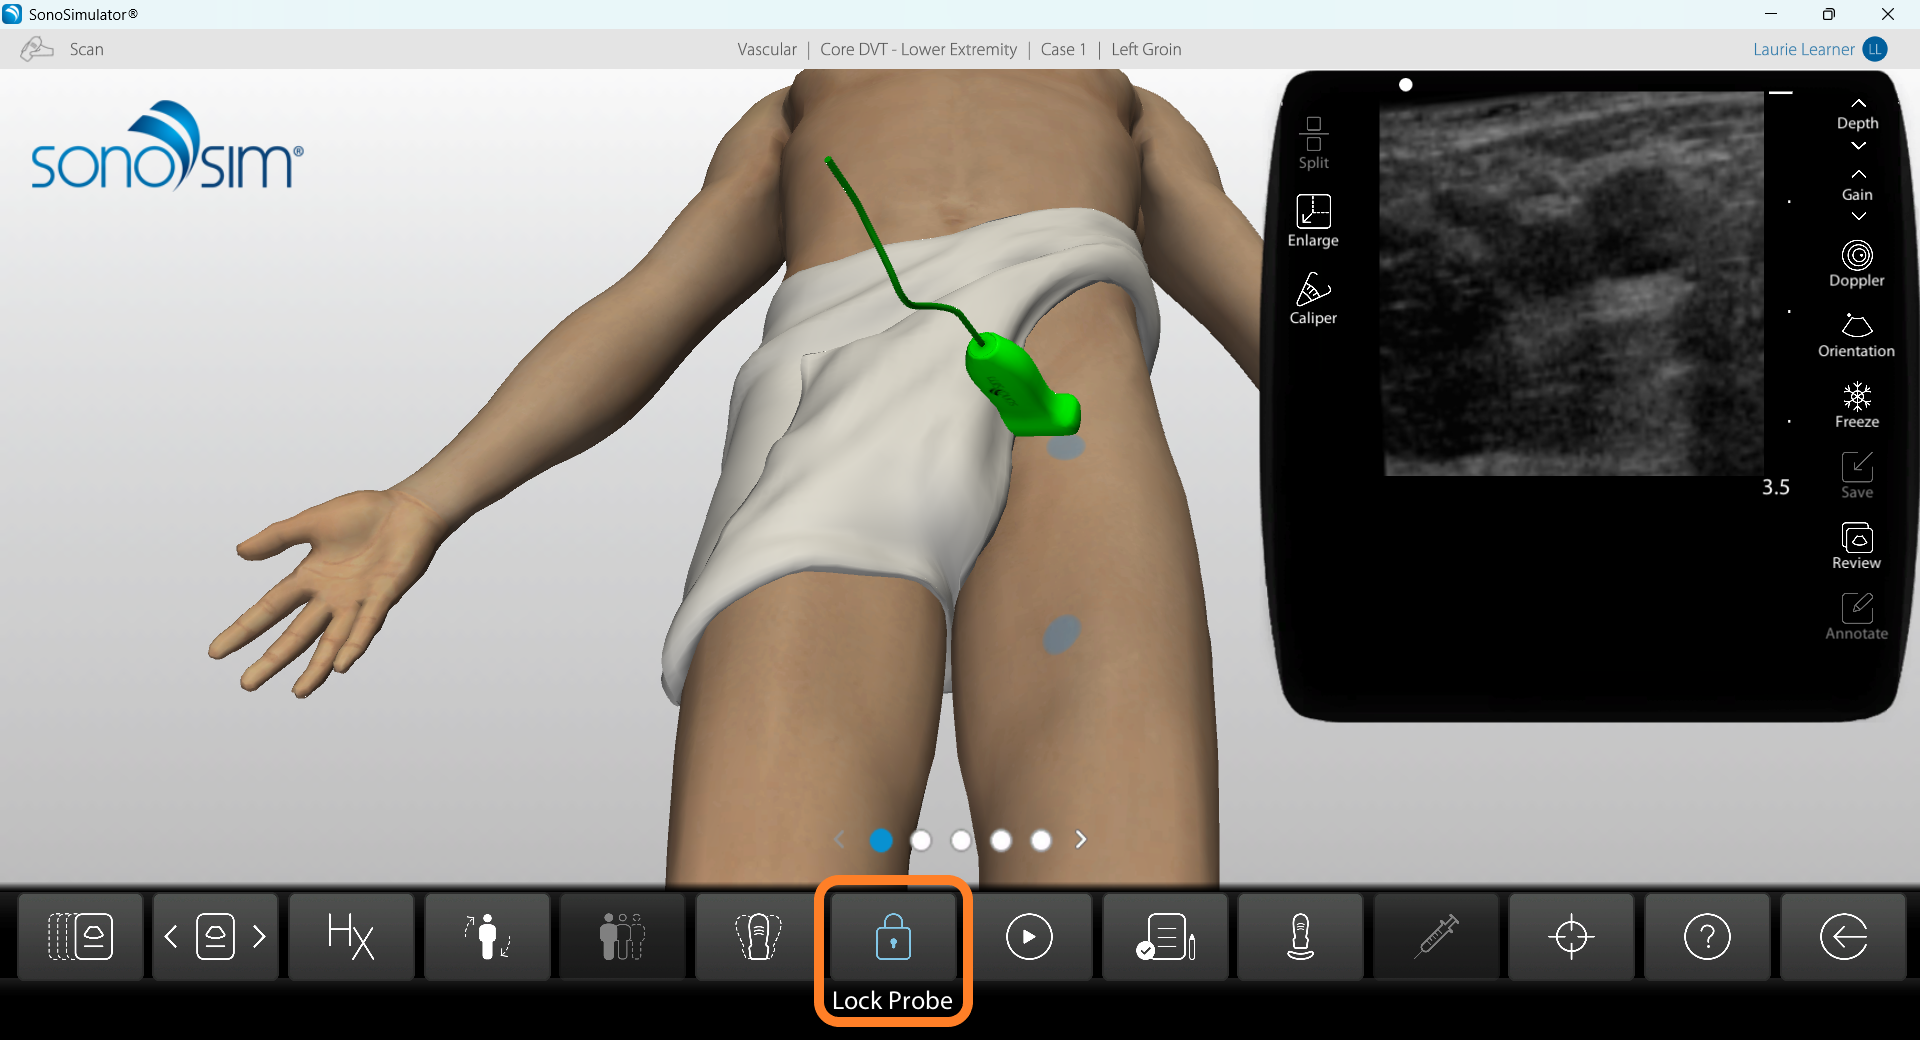
You can now put your physical probe down and the virtual probe will stay in place. This will free up your scanning hand for the next step.
Next, while holding down the ‘Compress’ button, tap ‘F' key on your keyboard to freeze the image. This will freeze the image with compression enabled.
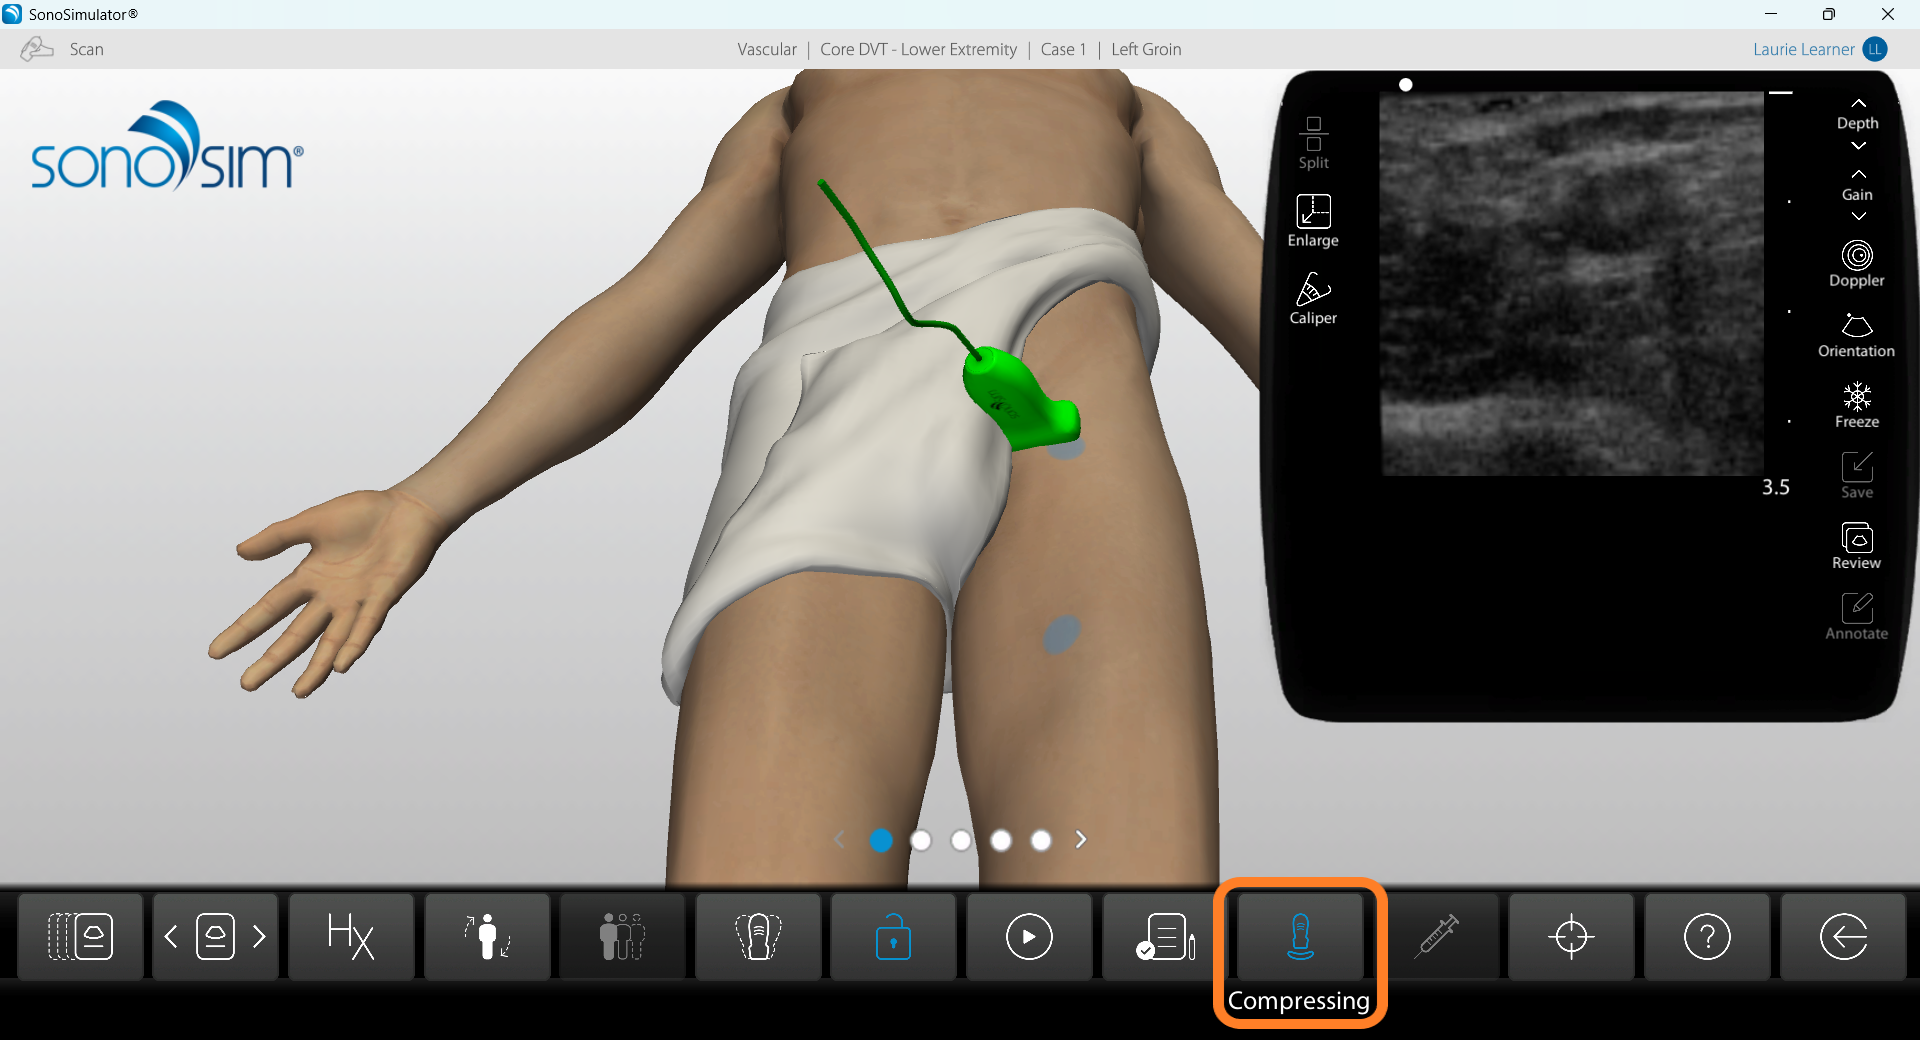
The 'F' key on your keyboard acts as a freeze/unfreeze hotkey, even when compression is not enabled.
From there, you can annotate and save the image as usual.
Still Have Questions?
Read Related Articles
- Can I edit my annotation on a saved ultrasound image?
- How do I access SonoSim Challenge Cases?
- How do I access the Case List in the SonoSimulator?
- How do I calibrate my probe?
- How do I delete my saved images?
- How do I know if I acquired a satisfactory image?
- How do I remove downloaded modules from the Case List?
- How do I save an image while using compression?
- How do I turn on Test Mode?
- How do I view my saved images?
- I successfully installed the SonoSim software, but I need more guidance on what to do in the SonoSimulator?
- I'm seeing a “Probe Could Not Be Initialized” error. What should I do?
- I'm seeing a “Probe Not Connected” error, but my probe is plugged in. What should I do?
- Probe calibration isn't working. What should I do?
- Where do I find the UPID number for my SonoSimulator® Probe?
Contact Support
-
Contact SonoSim Support
-
Give us a call: 855-873-7666
-
Schedule a Support Session