The Case List is how you choose a hands-on scanning case in the SonoSimulator. The steps below will show you how to find and use the Case List.
Download & Install the SonoSim Software
First, you'll need to download and install the SonoSim scanning software.
Open the Software on Your Computer
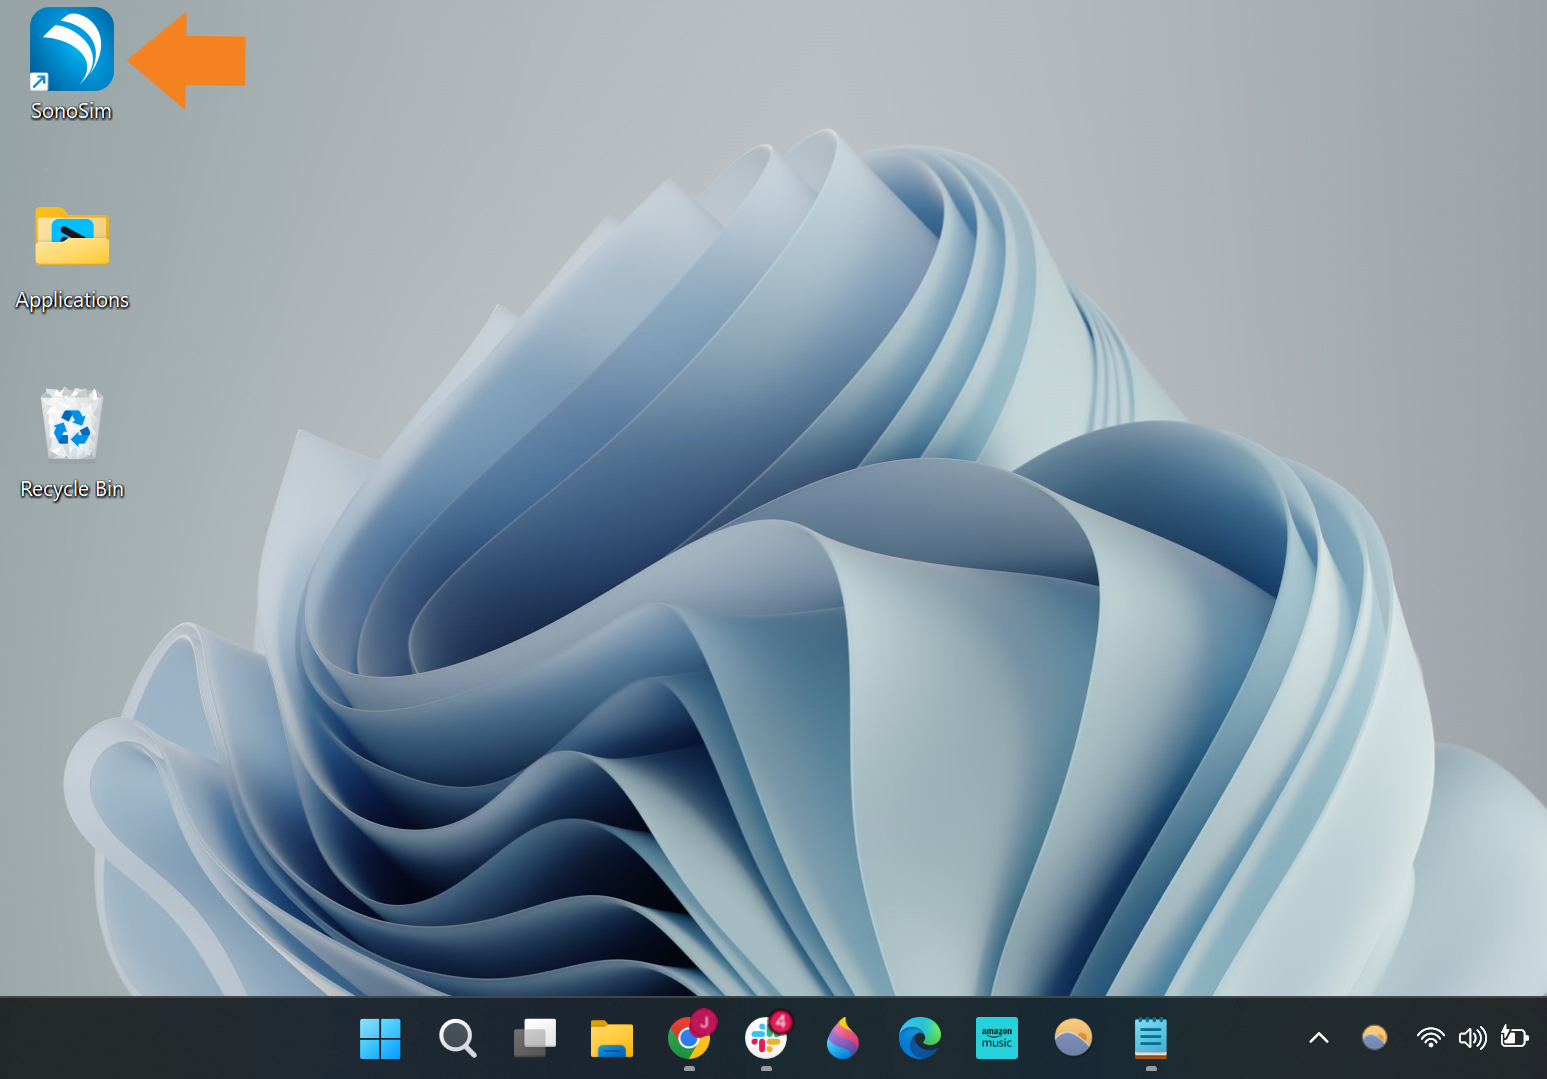
After the SonoSim software is installed, plug in your SonoSimulator probe into a USB port and double-click the SonoSim icon on your computer.
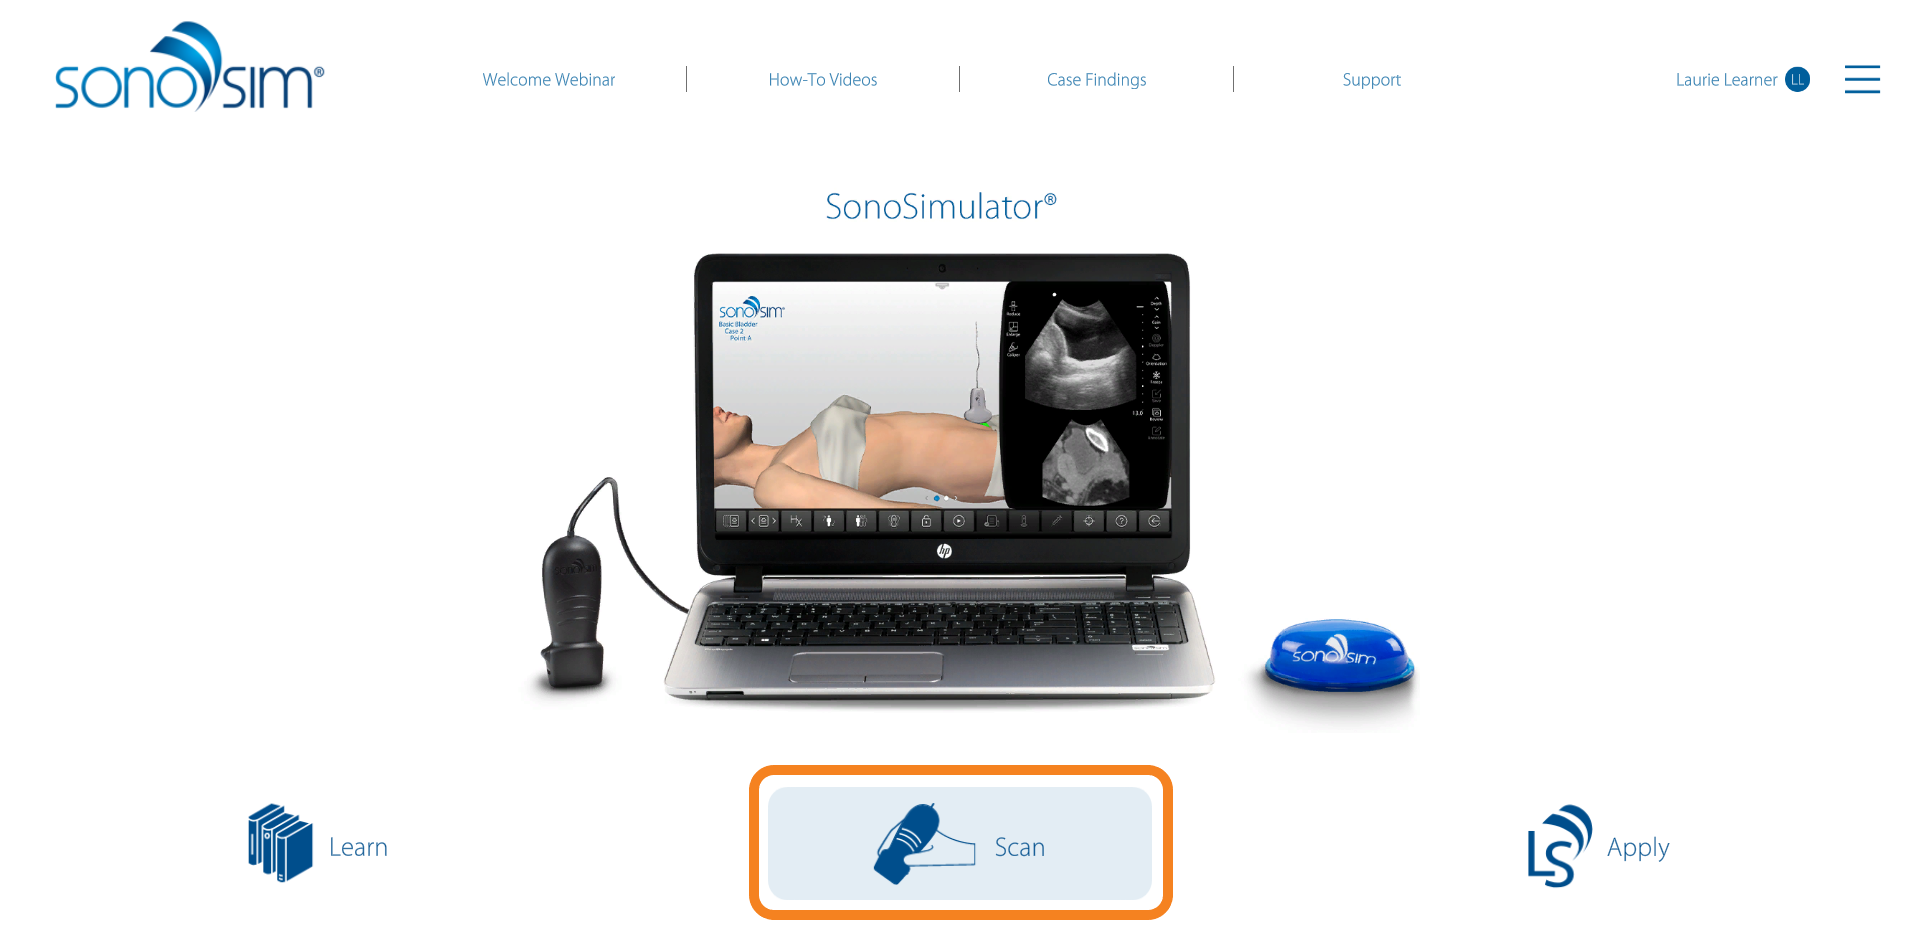
Once the software opens, log in and click Scan in the main menu.
Choose a Scanning Case from the Case List
This will open the Case List. Select a topic > module > case of interest.
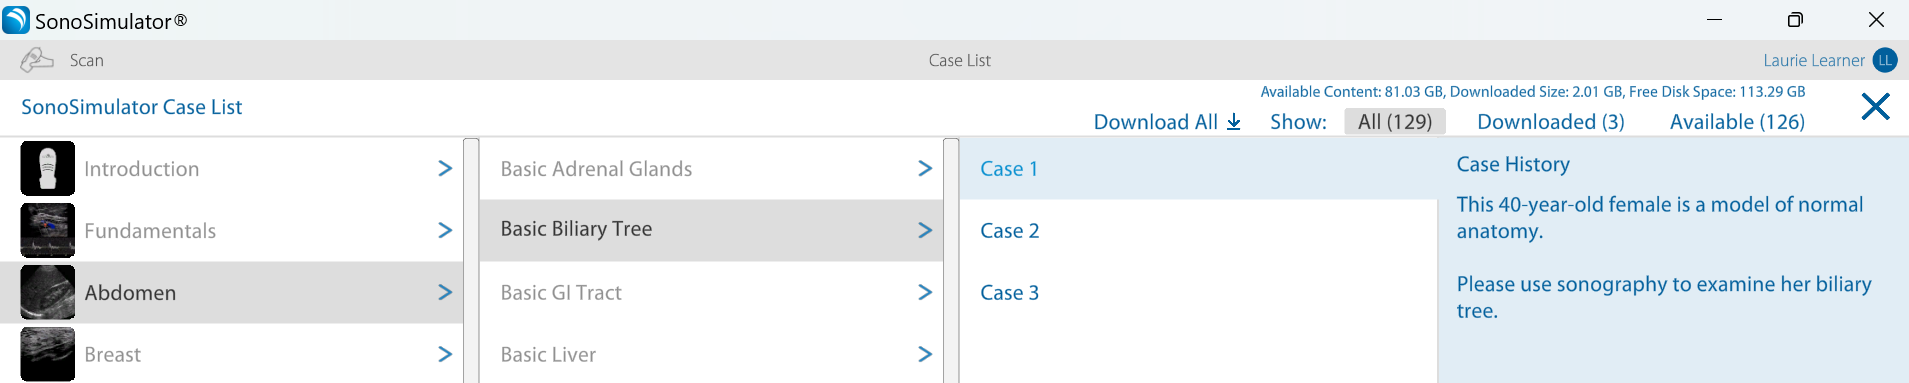
Content will need to be downloaded before it can be accessed in the SonoSimulator. You can download an entire topic (as shown in the image) or individual modules.
If space on your computer is limited, we recommend downloading individual modules as needed.
Downloaded content will be blue (e.g., 'Abdomen' in the image), whereas non-downloaded content will be gray (e.g., 'Breast' in the image).
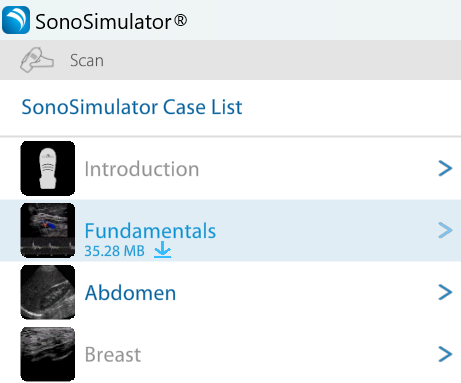
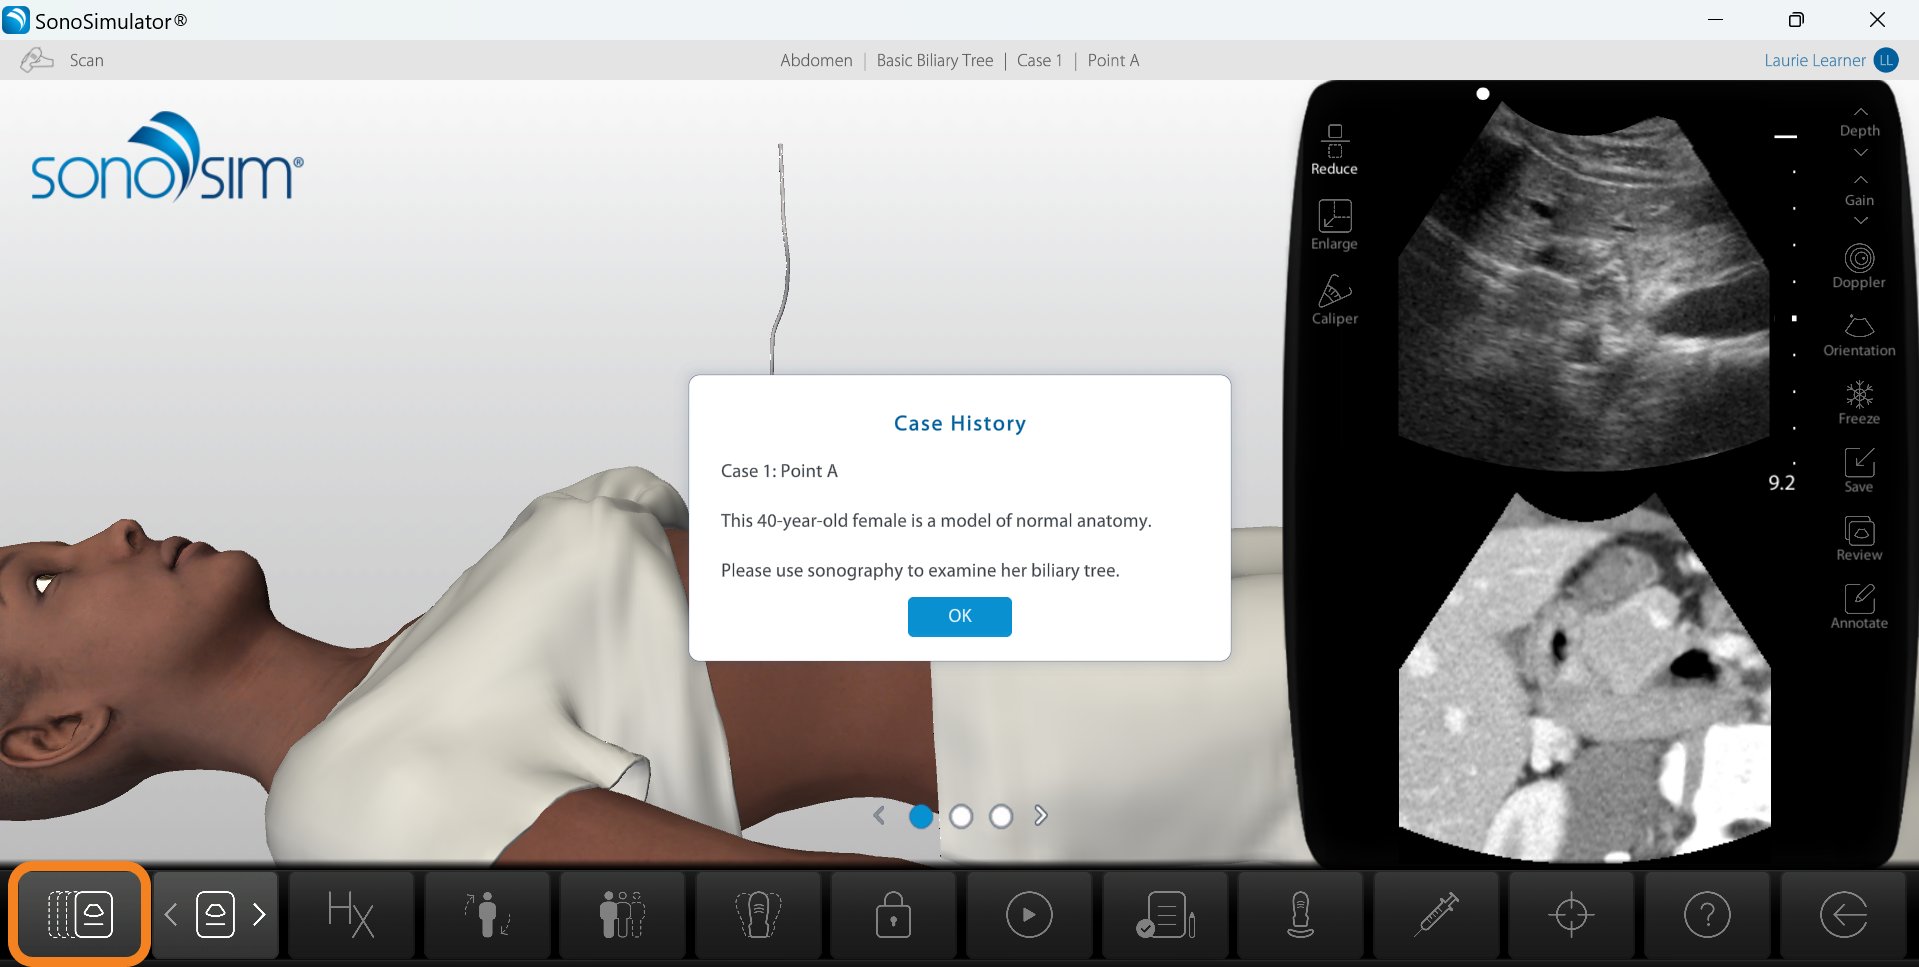
Click on a case to open up the SonoSimulator. From there, you can begin scanning real-patient cases.
Reopen the Case List
You can return to the Case List at any time by clicking the first icon in the bottom toolbar.
Still Have Questions?
Read Related Articles
- Can I edit my annotation on a saved ultrasound image?
- How do I access SonoSim Challenge Cases?
- How do I access the Case List in the SonoSimulator?
- How do I calibrate my probe?
- How do I delete my saved images?
- How do I know if I acquired a satisfactory image?
- How do I remove downloaded modules from the Case List?
- How do I save an image while using compression?
- How do I turn on Test Mode?
- How do I view my saved images?
- I successfully installed the SonoSim software, but I need more guidance on what to do in the SonoSimulator?
- I'm seeing a “Probe Could Not Be Initialized” error. What should I do?
- I'm seeing a “Probe Not Connected” error, but my probe is plugged in. What should I do?
- Probe calibration isn't working. What should I do?
- Where do I find the UPID number for my SonoSimulator® Probe?
Contact Support
-
Contact SonoSim Support
-
Give us a call: 855-873-7666
-
Schedule a Support Session